Well, if you read my last post about the renewed website you know that I replaced the applause button on my blog with a button I built myself, it is called Appreciate Button, and in this post I will tell you why I built it and how you can get the most out of it on your own website 😉
What is Appreciate Button?
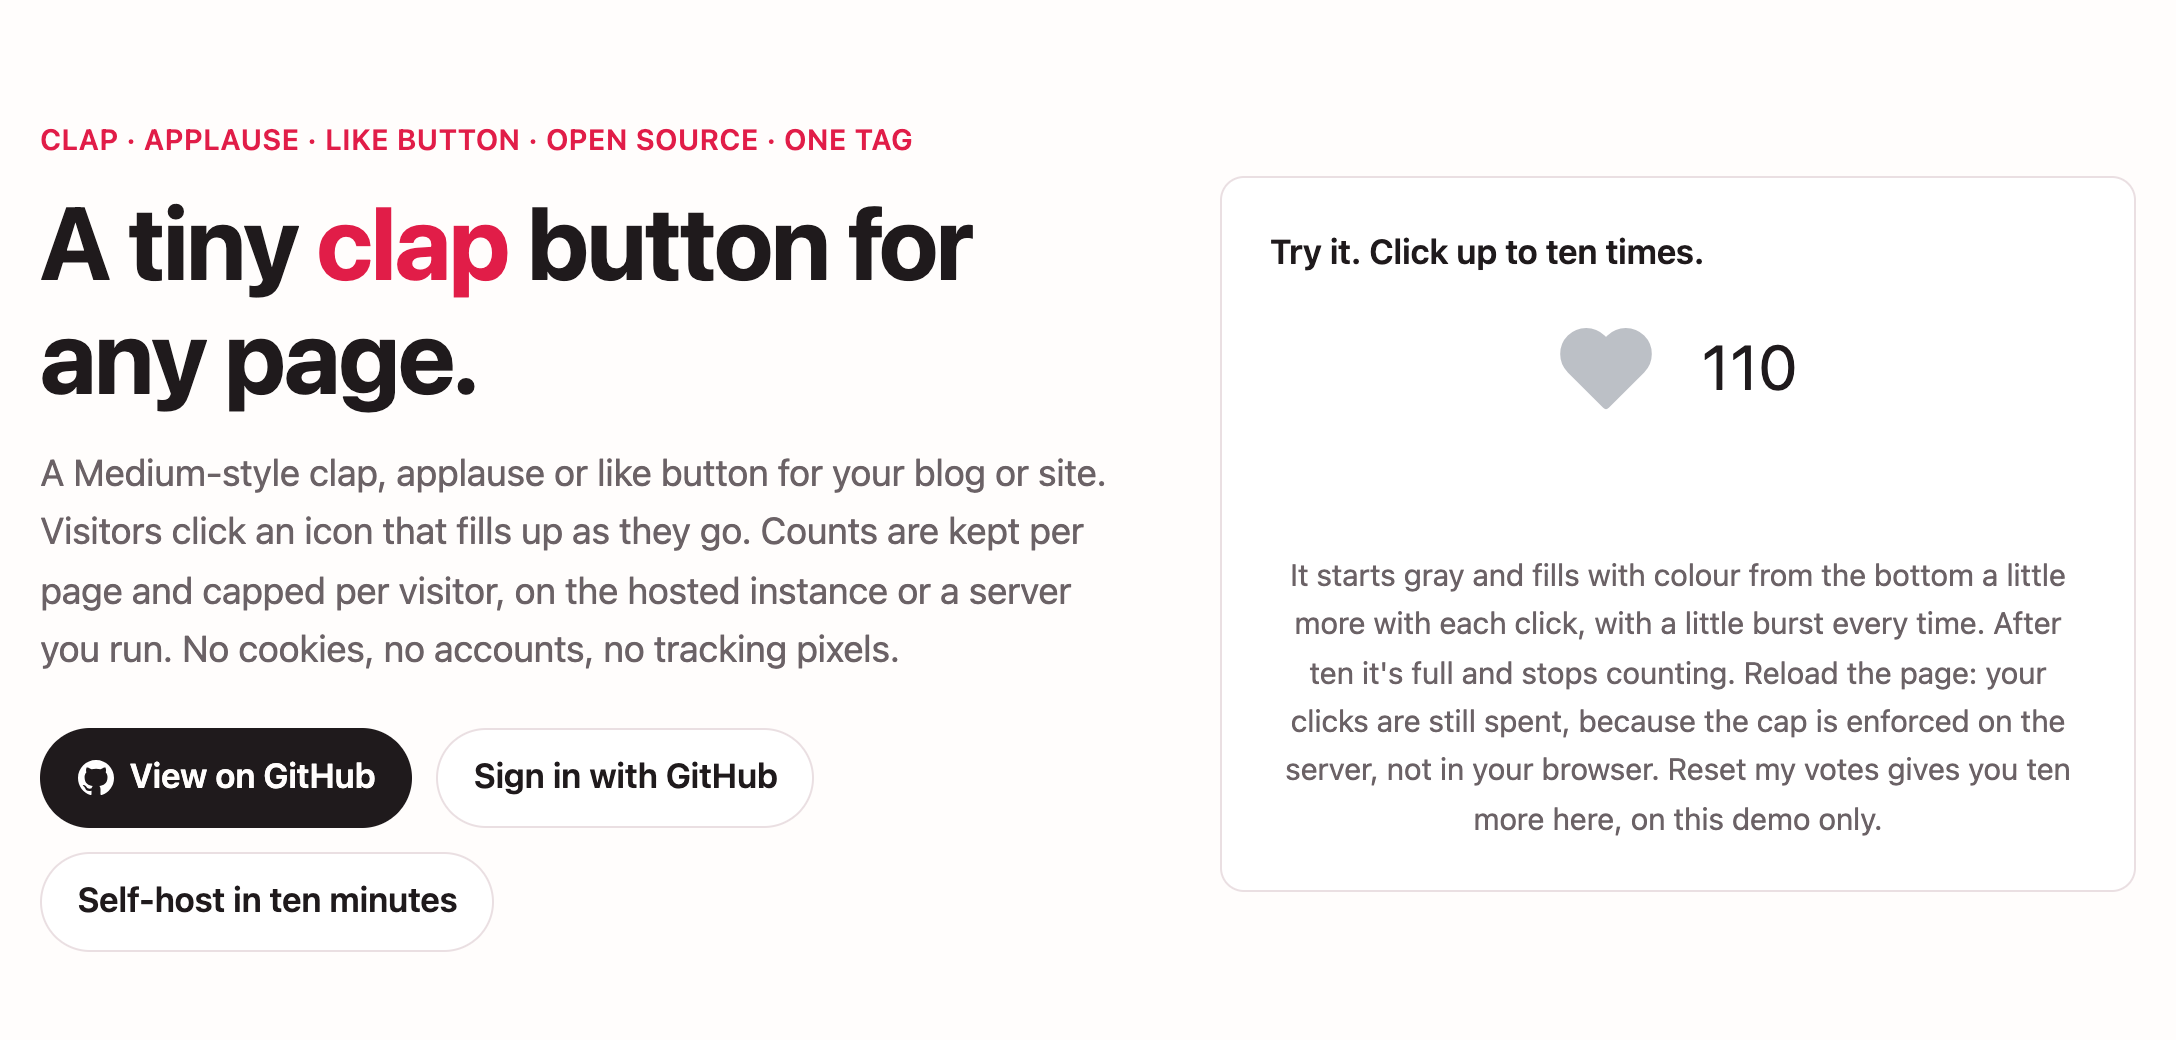
Appreciate Button is an open source “appreciate” button that you add to any page with one script tag, your visitors click an icon that fills up with colour from the bottom a little more with each click, with a small burst every time, and after 10 clicks (by default) it is full and stops counting.
The counts are kept per page, capped per visitor, and stored on the hosted instance or on a server you run, with no cookies, no accounts and no tracking pixels.
Here is a 45 seconds video that shows it in action 🎬
Why I built it
The applause-button served me well since 2024, but there were some things I wanted and couldn’t get:
- Own the data: the counts of my posts should live on my server, not on a service that I don’t control.
- Customize it: the icon, the colours, the size and where the count goes should match my website, not the other way around.
- Respect the reader: saying thank you to a post shouldn’t cost the reader any tracking, so no cookies and no IP addresses stored.
- A fair cap: a visitor can appreciate a post more than once, but only up to a limit, and that limit is enforced on the server, so reloading the page doesn’t reset it.
So I built it, and a few days after the first commit it was already running on this blog, you can find it at the end of every post, go ahead and try it 😄
Hint: if you are still using the applause-button, its free hosted service doesn’t run anymore, here is how to switch, it is mostly replacing its tags with one tag.
How it works
In short:
- The script tag loads the widget from your instance, and it renders an
<appreciate-button>web component in a shadow root, so your page’s CSS can’t break it. - It fetches the button’s config and the page’s count in parallel, and paints first from a small
localStoragecache so there is no flash. - Each click is sent one at a time, and the server increments inside a guarded transaction, so two tabs clicking at once can’t push a visitor past the cap.
- The count is per page automatically, the page address (origin + path) is the key, and the query string and the fragment are ignored.
The whole widget is around 10 KB gzipped with no dependencies, and it works in any HTML page, CMS or framework, even in single-page apps, since the button notices the client-side navigation and loads the new page’s count by itself.
Getting started
You have two options, use the hosted instance, or run your own.
The hosted instance
This is the fastest way, and you don’t need any server:
- Sign in with GitHub on appreciate-button.com.
- Create a button: create a site, then a button, and add your website’s address to the button’s allowed origins.
- Paste the tag where the button should appear, and that’s it:
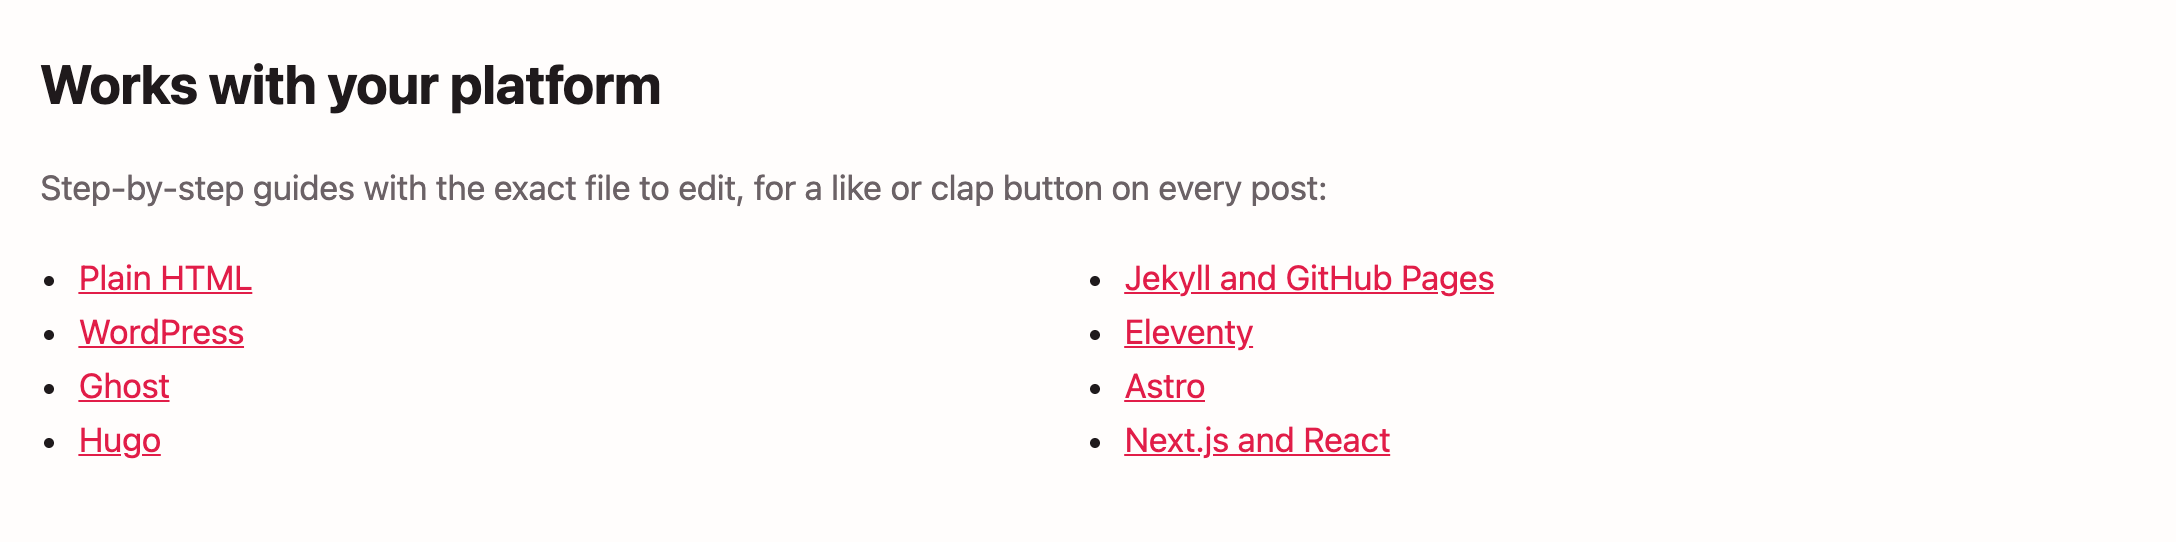
<script src="https://appreciate-button.com/widget.js" data-key="pk_..." async></script>And if you are not sure where to paste it, there are step by step guides with the exact file to edit for the most common platforms:
Let your agent add it
Well, if you are using Claude Code, Cursor or any other coding agent, you don’t even need to look for the right template file yourself, adding the button to your blog takes a few seconds:
- Copy the ready prompt from the “Let your agent add it” section on the landing page, or from your dashboard, where it already has your button’s key.
- Paste it into your agent, and give it your key if it asks.
- Check the files it changed, it tells you which ones when it is done.
That’s it, the prompt tells the agent exactly what to do and what not to do, it is a ready-made embed so there is nothing to install, fetch or test, and it knows where the button goes, even in React, Vue or Svelte components 😉
Your only part is to make sure your website’s address is in the button’s allowed origins.
Self-hosting
If you would rather keep the data yourself, the same server runs anywhere with Node.js and MySQL, it is one Docker image, and the hosting guide has step by step guides for Coolify (that is what the hosted instance runs on), any Docker host, or plain Node.
Here is the short version, build the image and run it with a database URL, your public URL and two secrets:
docker build -t appreciate-button .
docker run -d --name appreciate-button -p 3000:3000 --restart unless-stopped \
  -e DATABASE_URL='mysql://user:pass@db-host:3306/appreciate_button' \
  -e PUBLIC_BASE_URL='https://appreciate-button.example.com' -e TRUST_PROXY=true \
  -e VISITOR_HASH_SECRET="$(openssl rand -hex 32)" -e SESSION_SECRET="$(openssl rand -hex 32)" \
  -e GITHUB_CLIENT_ID=… -e GITHUB_CLIENT_SECRET=… -e GITHUB_ALLOWED_LOGINS=you \
  appreciate-button
Then create a GitHub OAuth app for the sign in, only the GitHub accounts you list in GITHUB_ALLOWED_LOGINS can sign in (or * to open it to everyone), and the tag of your buttons will point to your own domain instead.
Several buttons on one page
If you want more than one button on the same page, like a list of posts, load the script once without data-key and place the elements yourself, each with its own data-item:
<script src="https://appreciate-button.com/widget.js" async></script>

<appreciate-button data-key="pk_..." data-item="post-1" data-count="left"></appreciate-button>
<appreciate-button data-key="pk_..." data-item="post-2" data-count="left"></appreciate-button>
This is exactly how the cards on my blog page show the count of each post, and I add data-readonly to them so they only show the count, while the real button stays on the post page.
Make it yours
The icon and its four colours (default, hover, clicked and full) live on the server, so every page that embeds a button sees the same thing, but a page can still override the colours and the size with plain CSS, the count and the spacing grow with the icon.
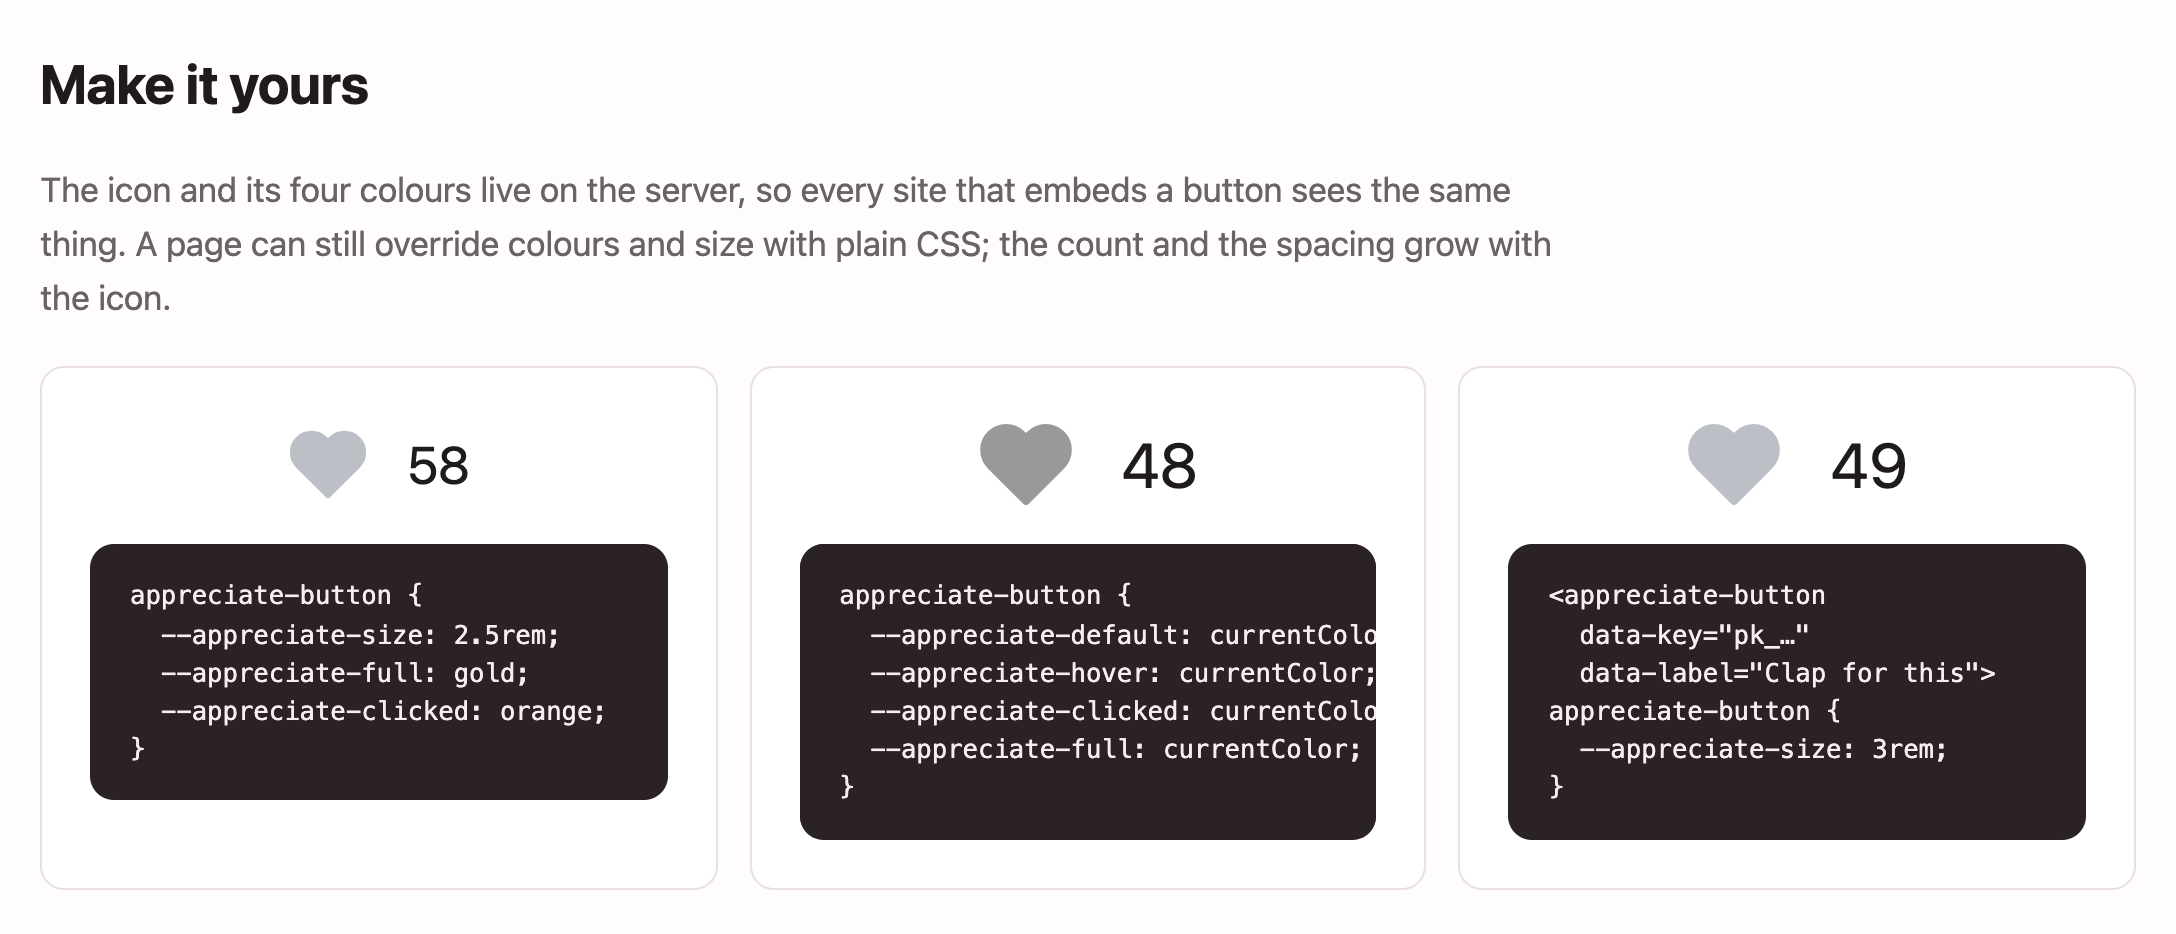
appreciate-button {
  --appreciate-size: 2.5rem;
  --appreciate-full: gold;
  --appreciate-clicked: orange;
}
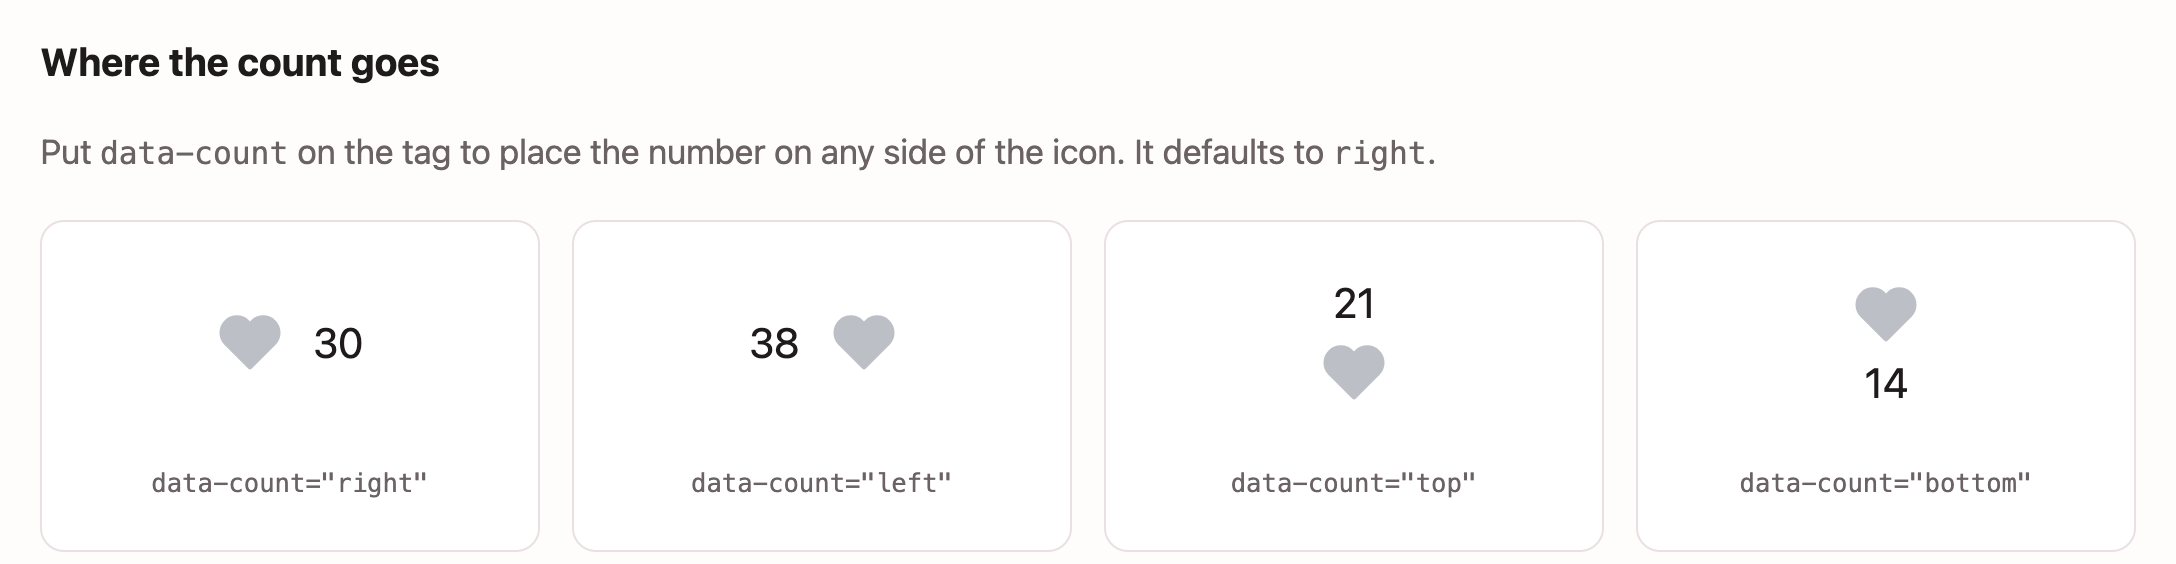
And you can put the count on any side of the icon with data-count, it defaults to right:
Here is a list of the attributes you can use on the tag or the element:
data-key: your button’s public key, the only required one.data-item: count against an id of your choice instead of the page address.data-count: where the count goes,right,left,toporbottom.data-readonly: show the count and the fill without taking clicks.data-label: the accessible name of the button,Appreciateby default.data-sound: set it tooffto mute the click sound.data-target: a CSS selector to render the button into, instead of right after the tag.
And from the dashboard, each button has its own settings:
- The icon: any single-colour outline SVG works and the widget repaints it for the four states (there is a small CLI to prepare it if needed), or you can keep the SVG’s own colours, or use four SVGs, one for each state.
- Max clicks per visitor, from 1 to 1,000 and 10 by default, set it to 1 and it becomes a classic like button, or give it more for Medium-style claps.
- The burst style on click (icons, dashes or none), a ring around the icon, the click sound, and a thank you message.
Listen to it
The button tells your page what happens through DOM events, they bubble out of the shadow root, so one listener on document hears every button on the page:
appreciate:ready: once the button has loaded and shows its count.appreciate:burst: on every click.appreciate:change: when the server confirms a counted click.appreciate:maxed: once, when the visitor uses their last click.appreciate:error: when loading or a click fails.
Each event carries the counts in event.detail, the total from everyone, the visitor’s count, how many clicks they have left and whether they are maxed.
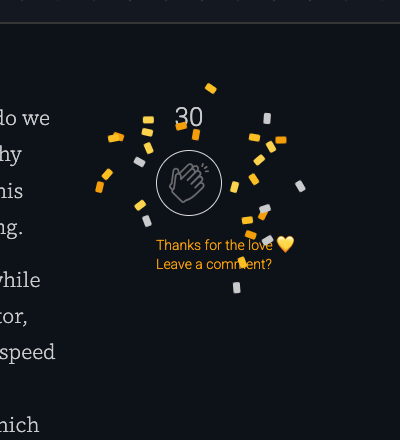
Here is how I use it on this blog, when you fill the button of a post you get a small confetti burst and a nudge to leave a comment (simplified):
document.addEventListener('appreciate:maxed', (event) => {
  document.getElementById('appreciateNudge').hidden = false;
  burstConfetti(event.target);
});
The leaderboard and the badge
Every instance has a public leaderboard page called “Most appreciated”, it ranks every site on the instance by the total appreciation its visitors have shown across all of its buttons and pages, and links each site to its most appreciated page.
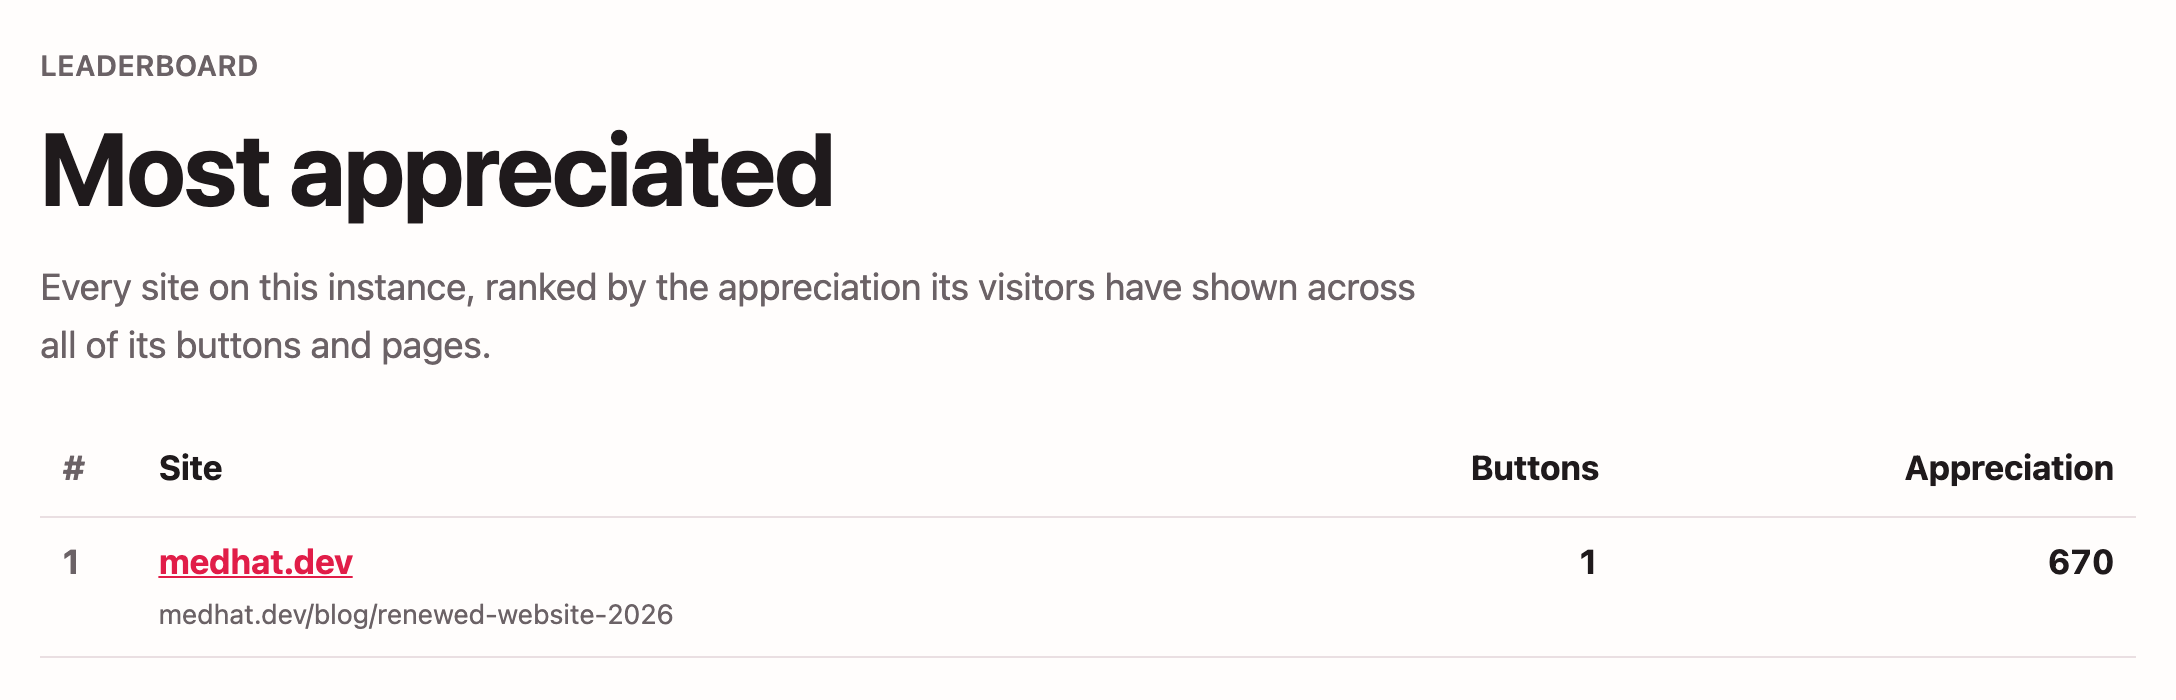
If you don’t want your site to show up there, you can turn it off per site from the site settings, and if you run your own instance, you can turn it off for the whole instance with LEADERBOARD=false.
Each site also gets a badge with its total, that you can put anywhere as an image, it is the one you see at the bottom of my sidebar, and it links to the leaderboard:
Privacy
This was one of the main reasons I built it, so here is exactly what happens:
- No cookies: the widget doesn’t set any cookies, and its requests are sent without credentials.
- No IP addresses stored: to enforce the cap, the server creates a hash from the visitor’s IP address and browser using a secret key (HMAC-SHA256), and stores only that hash with the number of clicks, the IP address itself is never stored.
- No accounts for visitors: only you, the owner, sign in to the dashboard.
localStorageonly as a cache: the widget keeps the last counts and config there to paint quickly, nothing more.- Allowed origins: each button only works on the websites you allow.
To be honest about the limits here, the cap is an abuse deterrent, not a bulletproof voting system, clearing the browser storage doesn’t reset it, but changing networks does, and that is fine for an appreciate button.
Conclusion
Appreciate Button is open source under the MIT licence, you can try the live demo on the landing page, check the code on GitHub, and if you like it, a star would make my day 🙏
And now you know who is counting your clicks at the end of this post, so don’t forget to press the appreciate button 😉
Tot ziens 👋